Notice that in the upper area (Show), the action buttons are enabled according to the purchase processing stage you have selected: 1. Unposted Only, 2. Posted, not Paid, or 3. Paid.
Action buttons
Export To XL:
AllsystemsMax exports to the old-style .XLS format introduced originally by Excel.
Adjustments:
Create adjustments here.
Disable Pmt:
To remove a purchase order from payment, first selectd the reference number line by clicking with your mouse. Then click the Disable Pmt button. The entire purchase order will be redisplayed with a strike-through indicating that it is no longer available for payment and the caption on the Disable Pmt button will change to 'Enable Pmt'. The Grand Total will also decrease. At this point if you choose Pay Up, the new Grand Total will be recorded as payment, as all purchase orders except for the disabled one will be elevated to stage 3: Paid.
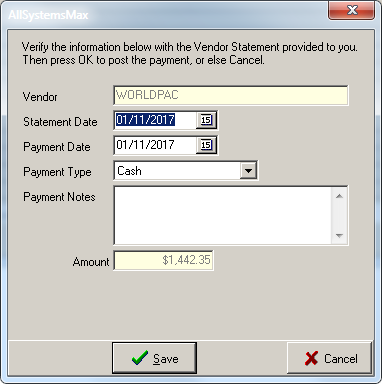
Pay Up:
When you click on the Pay Up button, all selected purchase orders that add up to the Grand Total will be elevated to stage 3: Paid, after you enter payment information.
If not placed into shelved inventory, items purchased for immediate use on an open repair order and then deleted from that repair order are automatically added to the virtual Return bin. However, you may also click this button to move excess shelved inventory into the Return Bin. Essentially, you will be creating a purchase order for the part, but in reverse direction, back to the vendor.
The returns button is available at all stages of purchase order processing.
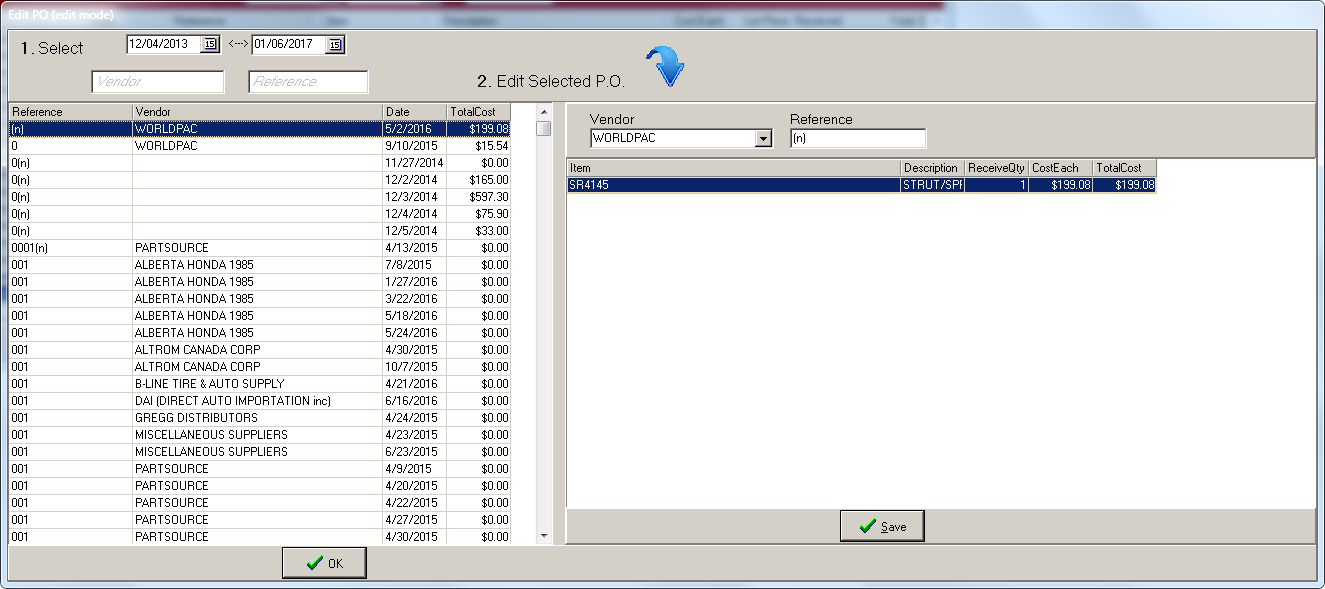
Vendors are managed individually, one at a time. But the administrator can also use the Show All Vendors button to enter edit mode after entering the administrator password. In edit mode, the administrator is able to change the vendor and reference number for already posted, but not yet paid, purchase orders.
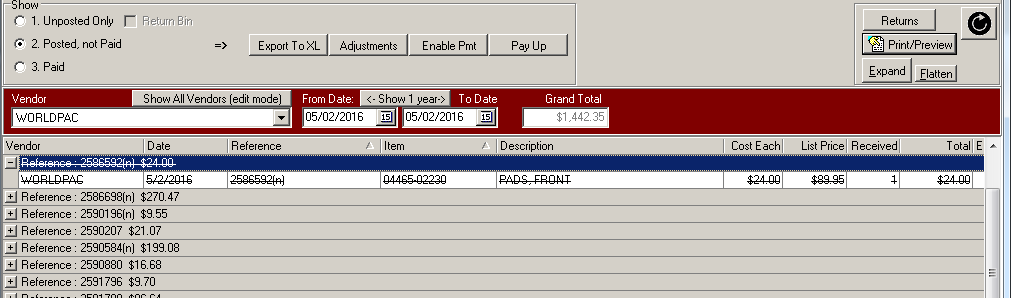
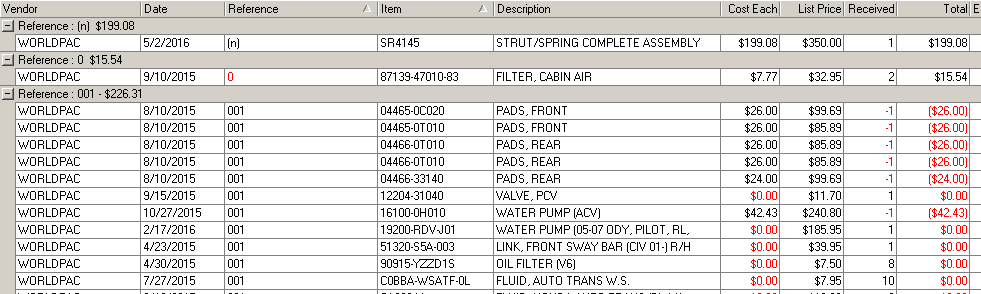
The grand total shown is the sum of all purchase orders within the selected date range. By adjusting the date range to match the statement received from you vendor you can quickly determine whether your records exactly match with your supplier before paying. If they don't match, and you have been posting accurately, then a closer look can uncover parts that were charged incorrectly, or at a different price than originally quoted.